

In this tutorial we will learn how to install Apache web server using yum command.
The Apache HTTP Web Server is an open-source HTTP server for modern operating systems including UNIX and Windows. The goal of this project is to provide a secure, efficient and extensible server that provides HTTP services in sync with the current HTTP standards. This has been the most popular web server on the Internet.
Lets start Apache web server installation.
[asif@localhost ~]$ sudo yum install httpdDuring installation Apache will also install required packages to resolve dependencies.
Dependencies Resolved

========================================================================================================================================================================
 Package                                  Arch                              Version                                            Repository                          Size
========================================================================================================================================================================
Installing:
 httpd                                    x86_64                            2.2.15-54.el6.centos                               updates                            833 k
Installing for dependencies:
 apr                                      x86_64                            1.3.9-5.el6_2                                      base                               123 k
 apr-util                                 x86_64                            1.3.9-3.el6_0.1                                    base                                87 k
 apr-util-ldap                            x86_64                            1.3.9-3.el6_0.1                                    base                                15 k
 httpd-tools                              x86_64                            2.2.15-54.el6.centos                               updates                             79 k

Transaction Summary
========================================================================================================================================================================
Install       5 Package(s)

Total download size: 1.1 M
Installed size: 3.6 M
Is this ok [y/N]: y
Apache server with required packages has been installed. Now we are going to see status of Apache service.
Start the Apache Server
[asif@localhost ~]$ sudo service httpd status
httpd is stopped
Let start the Apache service.
[asif@localhost ~]$ sudo service httpd start
Starting httpd: httpd: Could not reliably determine the server's fully qualified domain name, using localhost.localdomain for ServerName
                                                           [  OK  ]

[asif@localhost ~]$ sudo service httpd status
httpd (pid  2527) is running...

[asif@localhost ~]$ ps aux | grep httpd
root      2527  0.0  0.3 175736  3768 ?        Ss   12:24   0:00 /usr/sbin/httpd
apache    2529  0.0  0.2 175736  2440 ?        S    12:24   0:00 /usr/sbin/httpd
apache    2530  0.0  0.2 175736  2440 ?        S    12:24   0:00 /usr/sbin/httpd
apache    2531  0.0  0.2 175736  2440 ?        S    12:24   0:00 /usr/sbin/httpd
apache    2532  0.0  0.2 175736  2456 ?        S    12:24   0:00 /usr/sbin/httpd
apache    2533  0.0  0.2 175736  2440 ?        S    12:24   0:00 /usr/sbin/httpd
apache    2534  0.0  0.2 175736  2440 ?        S    12:24   0:00 /usr/sbin/httpd
apache    2535  0.0  0.2 175736  2440 ?        S    12:24   0:00 /usr/sbin/httpd
apache    2536  0.0  0.2 175736  2440 ?        S    12:24   0:00 /usr/sbin/httpd
asif      2538  0.0  0.0 103252   832 pts/1    S+   12:24   0:00 grep httpd
So when you shutdown the system and start again, the Apache service need to be start again. If you want to start service automatically after every time boot the server. You have to type the below commad.
[asif@localhost ~]$ sudo chkconfig httpd onAllow Web Server Port in iptables
Now we will give the ip-address in browser. If you unable to get Apache home page. Then you need to allow httpd port 80 in iptables.
[asif@localhost ~]$ sudo vim /etc/sysconfig/iptables

# Firewall configuration written by system-config-firewall
# Manual customization of this file is not recommended.
*filter
:INPUT ACCEPT [0:0]
:FORWARD ACCEPT [0:0]
:OUTPUT ACCEPT [0:0]
-A INPUT -m state --state ESTABLISHED,RELATED -j ACCEPT
-A INPUT -p icmp -j ACCEPT
-A INPUT -i lo -j ACCEPT
-A INPUT -m state --state NEW -m tcp -p tcp --dport 22 -j ACCEPT
-A INPUT -m state --state NEW -m tcp -p tcp --dport 80 -j ACCEPT ### Added the line to allow port 80
-A INPUT -j REJECT --reject-with icmp-host-prohibited
-A FORWARD -j REJECT --reject-with icmp-host-prohibited
COMMIT
and then we will restart the iptables service to change effect.
[asif@localhost ~]$ sudo service iptables restart
iptables: Setting chains to policy ACCEPT: filter          [  OK  ]
iptables: Flushing firewall rules:                         [  OK  ]
iptables: Unloading modules:                               [  OK  ]
iptables: Applying firewall rules:                         [  OK  ]
Apache Web Page
Now Apache web page is opening in the browser.

Apache Web Page
If you want to install the Apache manual for better understanding of Web server. We will go back to command line and put the command as shown below.
[asif@localhost ~]$ sudo yum install httpd-manual

Loaded plugins: fastestmirror, refresh-packagekit, security
Loading mirror speeds from cached hostfile
 * base: mirror.nbrc.ac.in
 * extras: mirror.nbrc.ac.in
 * updates: mirror.nbrc.ac.in
Setting up Install Process
Resolving Dependencies
--> Running transaction check
---> Package httpd-manual.noarch 0:2.2.15-54.el6.centos will be installed
--> Finished Dependency Resolution

Dependencies Resolved

========================================================================================================================================================================
 Package                                  Arch                               Version                                          Repository                           Size
========================================================================================================================================================================
Installing:
 httpd-manual                             noarch                             2.2.15-54.el6.centos                             updates                             789 k

Transaction Summary
========================================================================================================================================================================
Install       1 Package(s)

Total download size: 789 k
Installed size: 3.5 M
Is this ok [y/N]: y
Downloading Packages:
httpd-manual-2.2.15-54.el6.centos.noarch.rpm                                                                                                     | 789 kB     00:05
Running rpm_check_debug
Running Transaction Test
Transaction Test Succeeded
Running Transaction
  Installing : httpd-manual-2.2.15-54.el6.centos.noarch                                                                                                             1/1
  Verifying  : httpd-manual-2.2.15-54.el6.centos.noarch                                                                                                             1/1

Installed:
  httpd-manual.noarch 0:2.2.15-54.el6.centos

Complete!
Now restart the Web service to change effect.
[asif@localhost ~]$ sudo service httpd restart
Stopping httpd:                                            [  OK  ]
Starting httpd: httpd: Could not reliably determine the server's fully qualified domain name, using localhost.localdomain for ServerName
                                                           [  OK  ]
Apache Web Page Manual
Now you can find any information about Apache web server and its useful especially if you are new to the Web server.
Name-Based VirtualHost
First we will need to create directories to make two virtual hosts on /var/www/html (document root).
mkdir /var/www/html/testdomain1.com/
mkdir /var/www/html/testdomain2.com/
For Name-based virtual hosting we will tell the IP to Webserver to receive the requests. In Apache main configuration file we will do this as follows.
vim /etc/httpd/conf/httpd.confUncomment the below NameVirtualHost and mention server IP which receive HTTPD requests.
NameVirtualHost 192.168.31.129:80Virtual directives would be as follows and then save the file.
<VirtualHost 192.168.31.129:80>
ServerAdmin webmaster@testdomain1.com
DocumentRoot /var/www/html/testdomain1.com
ServerName www.testdomain1.com
ErrorLog logs/www.testdomain1.com-error_log
CustomLog logs/www.testdomain1.com-access_log common
</VirtualHost>

<VirtualHost *:80>
ServerAdmin webmaster@testdomain2.com
DocumentRoot /var/www/html/testdomain2.com
ServerName www.testdomain2.com
ErrorLog logs/www.testdomain2.com-error_log
CustomLog logs/www.testdomain2.com-access_log common
</VirtualHost>
Restart Apache service.
/etc/init.d/httpd restart
Stopping httpd:                                            [  OK  ]
Starting httpd:                                            [  OK  ]

chkconfig --level 35 httpd on
Now it’s time to create a test page called index.html add some content to the file so we will have something to check it, when the IP calls the virtual host.
vim /var/www/html/testdomain1.com/index.html

<html>
<head>
<title>www.testdomain1.com</title>
</head>
<body>
<h1>Hello, Welcome to www.testdomain1.com.</h1>
</body>
</html>

vim /var/www/html/testdomain2.com/index.html

<html>
<head>
<title>www.testdomain2.com</title>
</head>
<body>
<h1>Hello, Welcome to www.testdomain2.com.</h1>
</body>
</html>
Now navigate to browser both URLs.
Output: www.testdomain1.com
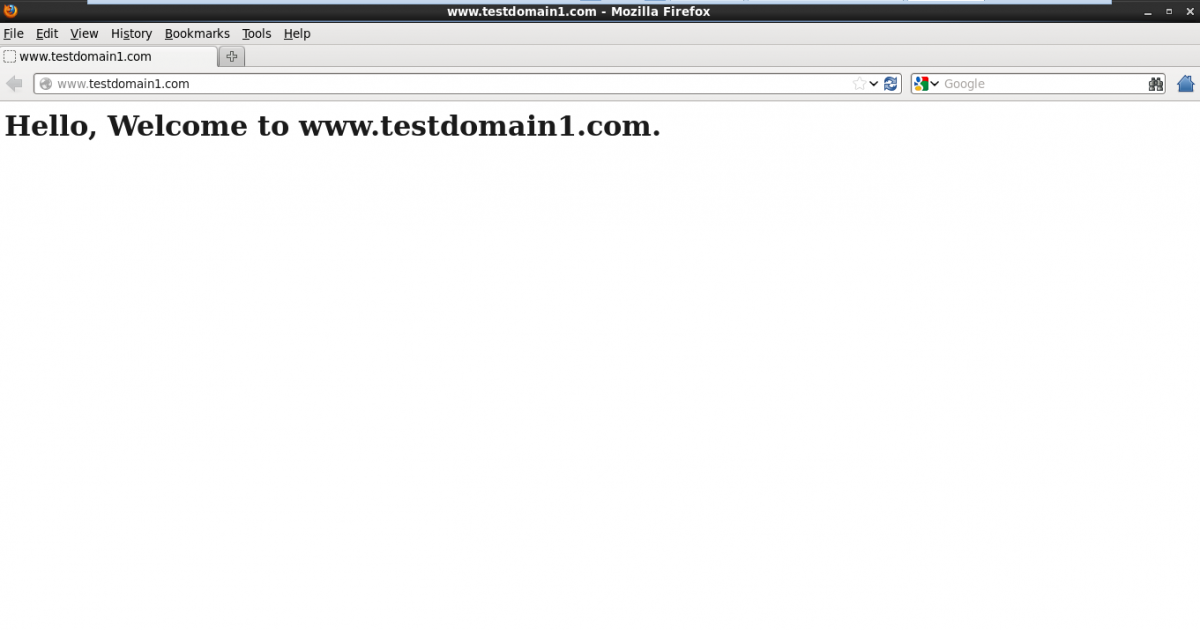
Test Domain 1
Output: www.testdomain2.com
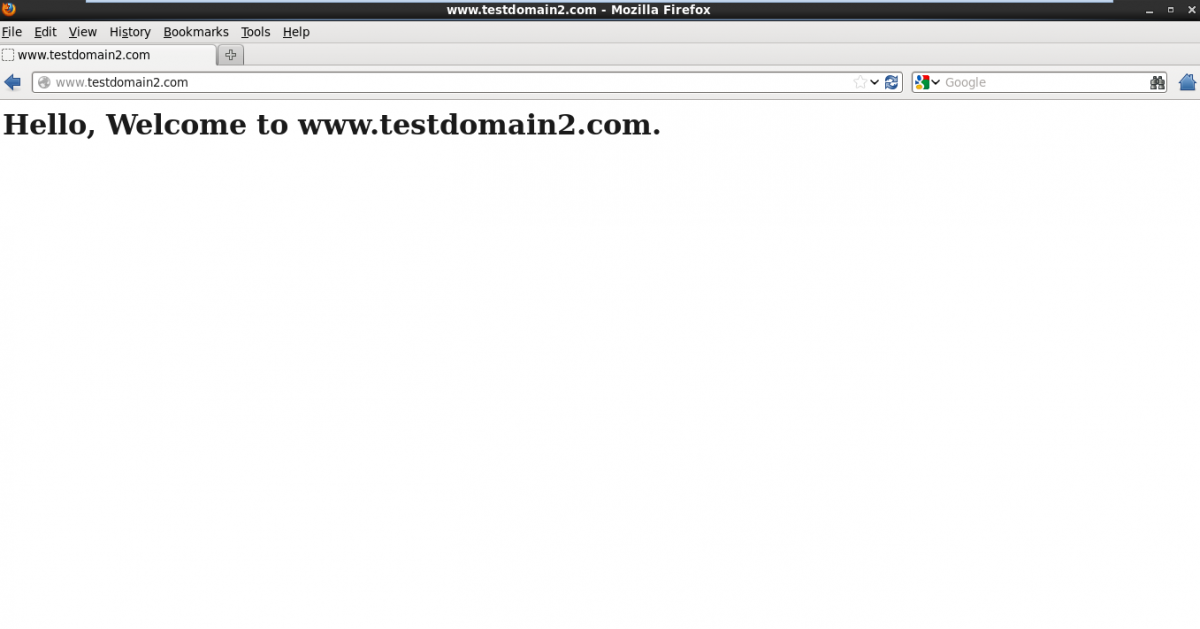
Test Domain 2
Linux IP-Based VirtualHosting
For IP based virtualhosting, we need to have two IPs on Linux server.
To add Another IP we will need to use following command:
ifconfig eth2:1 192.168.31.128We will remove IP with below command.
ifconfig eth2:1 downIn IP based virtual hosting we will assign two IPs on each website and particular IP will not be used by any other domain.
ifconfig

eth2      Link encap:Ethernet  HWaddr 00:0C:29:98:66:99
          inet addr:192.168.31.129  Bcast:192.168.31.255  Mask:255.255.255.0
          inet6 addr: fe80::20c:29ff:fe98:6699/64 Scope:Link
          UP BROADCAST RUNNING MULTICAST  MTU:1500  Metric:1
          RX packets:97137 errors:0 dropped:0 overruns:0 frame:0
          TX packets:57057 errors:0 dropped:0 overruns:0 carrier:0
          collisions:0 txqueuelen:1000
          RX bytes:115534337 (110.1 MiB)  TX bytes:4055069 (3.8 MiB)

eth2:1    Link encap:Ethernet  HWaddr 00:0C:29:98:66:99
          inet addr:192.168.31.128  Bcast:192.168.31.255  Mask:255.255.255.0
          UP BROADCAST RUNNING MULTICAST  MTU:1500  Metric:1

lo        Link encap:Local Loopback
          inet addr:127.0.0.1  Mask:255.0.0.0
          inet6 addr: ::1/128 Scope:Host
          UP LOOPBACK RUNNING  MTU:16436  Metric:1
          RX packets:370 errors:0 dropped:0 overruns:0 frame:0
          TX packets:370 errors:0 dropped:0 overruns:0 carrier:0
          collisions:0 txqueuelen:0
          RX bytes:47134 (46.0 KiB)  TX bytes:47134 (46.0 KiB)
You can see that we have two IPs on server and we will configure it separately.
vim /etc/httpd/conf/httpd.conf

Listen 192.168.31.129:80
Virtual directives would be as follows and then save the file.
<VirtualHost 192.168.31.129:80>
ServerAdmin webmaster@testdomain1.com
DocumentRoot /var/www/html/testdomain1.com
ServerName www.testdomain1.com
ErrorLog logs/www.testdomain1.com-error_log
CustomLog logs/www.testdomain1.com-access_log common
</VirtualHost>

<VirtualHost 192.168.31.128:80>
ServerAdmin webmaster@testdomain2.com
DocumentRoot /var/www/html/testdomain2.com
ServerName www.testdomain2.com
ErrorLog logs/www.testdomain2.com-error_log
CustomLog logs/www.testdomain2.com-access_log common
</VirtualHost>
Restart Apache service.
/etc/init.d/httpd restart

Stopping httpd:                                            [  OK  ]
Starting httpd:                                            [  OK  ]
Navigate the URLs to test IP based virtualhosting on web browser.
We have done Apache virtual hosting with Name based and IP based.
For the same job on CentOS 7, including the firewall step, see installing Apache on CentOS 7.


